AHHH... The curtains are complete. And they are made pretty easy - I've just done clips at the top (but if you want to make tab top curtains, I'll have to find another room that needs curtains so I can sew some for you and make another tutorial... too hard to explain without pictures!).
Start by ironing your fabric. I've left the selvedge on instead of cutting it off. I'm lazy and this is supposed to be easy.
Then hem. By hem I mean fold over each side 1/2 an inch (in my case as much as needed to cover the selvedge). Press nice and flat.
Then fold again and pin. Leave about two inches at the ends - you'll need to fold and press the three other sides of your fabric and it's a real pain to pull pins out and repin when you really don't have to. I'm lazy.
Here's a photo that shows the two folds - I've started pinning the second fold closer to the camera and you can see the first fold in the background. Pin as you go. For anything that's shorter than a foot I don't pin. I just press and then sew. But that's how sometimes I don't get straight stitches so.... learn from me. PIN.
Pin every 6 - 8 inches. I hate sewing, stopping to pull pins out and then sewing again. I've got it down to where I know the speed I can go and pull pins out without stopping the machine. EXCITING.
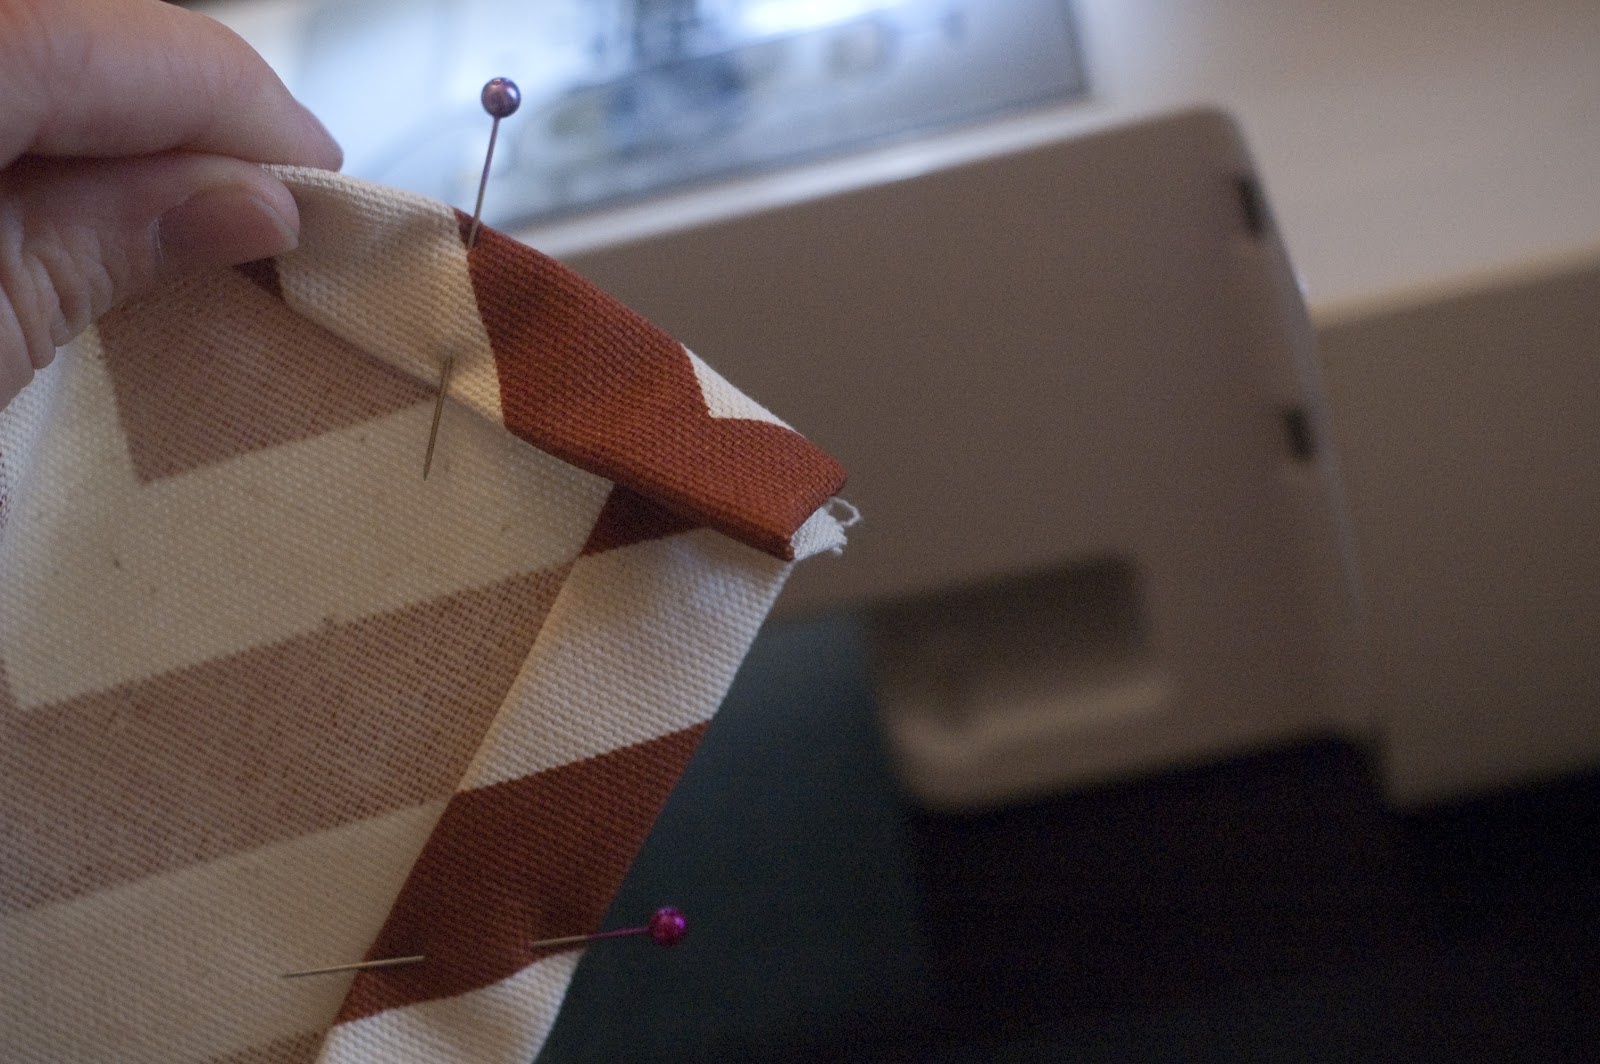
However, with this method of hemming you end up with the ugliest corners ever.
See? UGLY. UGLY. UGLY. And I don't like ugly. So we're going to fix that.
Unfold the corners all the way and make sure you can see your press marks. They will be your guides through this confusing part.
After you've unfolded the corners, cut the bulk out - just the corner, I trim from diagonal to diagonal on the press marks. There's nothing worse than breaking a needle when you get to the corners.
Now fold in the first fold like normal. You get a flat corner.
And now fold down the corner. Yes, fold down the flat corner maybe about 1/2 an inch to an inch. Just to where the first fold meets your new corner fold (if that makes sense... or just fold the corner down).
One more time just to show you. Here's the flat corner.
Now just fold it down.
Then you can fold in the sides one more time. See in the top - the first fold you pressed? Now we're folding down the second fold you pressed earlier.
And ta-da! When you fold down both of your second folds you get the pretty corner! YAY! (These are the best corners to use when you make napkins. Trust.) I always makes sure the largest hemmed edge is on top - I want the needle to go through all of that fabric to tack it all down. Now do you see why we cut the bulk out? There's a TON fabric in corners of curtains and you don't want to break a needle.
Pin your hard work down so it stays put and you don't have a meltdown when you get to the corner and realize that you've forgotten to pin. Sort of like I did with the first curtain panel that I made. Oh boy, did I wish I had a nice, big Jack and Coke that day.
Sew as close to the edge as possible. Backstitch at the very beginning 5 - 7 stitches and when you get to each side of each corner. I want those corners tacked down as tight as possible. I HATE repairing curtains. Such a pain.
See? Pretty stitchs - I think Martha Stewart would approve. When you actually sew a hem instead of using the iron on stuff, it looks so much better. I know... only I will know that it's there... But still...
Ok, here's what a corner looks like half sewn. See how I've back stitched? Make sure you do that on all of your corners.
At voila! Curtains!


1 comment:
Great job, Patty! I am sitting here in class and the girl next to me saw the pictures and loves it as well.
Post a Comment